


Pixel Tree
Over the years, my megatree has been a foundation of the front yard. Besides the megawreath, the megatree was the sole focus of our display. It had red super spheres and strobes in it...along with 3 different colors of light strands that came down from the top and went 360 degrees around the base. It was cool and fit with the time well. However, when I went to go sequence it, there was only so much I could do with it. I could spin colors in different directions at different speeds, turn on the strobes or flash the red super spheres. That was all that could be done. And although I made it work well, I have totally exhausted the amount of effects that could be done with it. Additionally, every song shared the same typical type of effects. Then I discovered pixels.
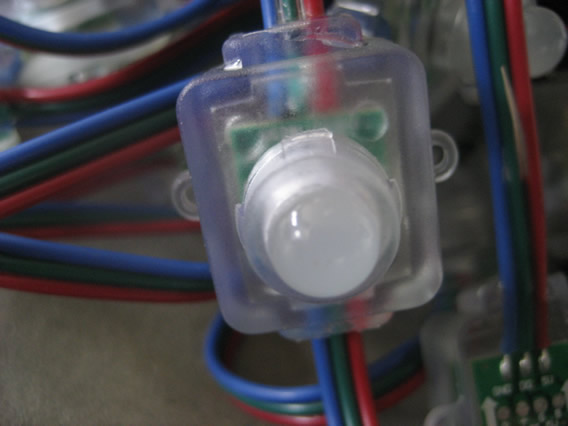
Pixels are individual devices that contain a Red/Green/Blue (RGB) LED and by mixing the amount of power from each LED, you can create well over 2 million (you read that right) different colors. Each pixel is individually addressable, so I can make any pixel any color I wanted. Well, this opened up new ideas for me. I could now create a tree that can be controlled in any color/fashion I wanted. So after some research, I purchased 5V WS2811 epoxy filled pixels from China (EVERY Christmas light unfortunately comes from China), two J1Sys ECG-P12 pixel controllers and Mean Well power supplies (model #SE-350-5).
Here are what my pixels looks like up close:
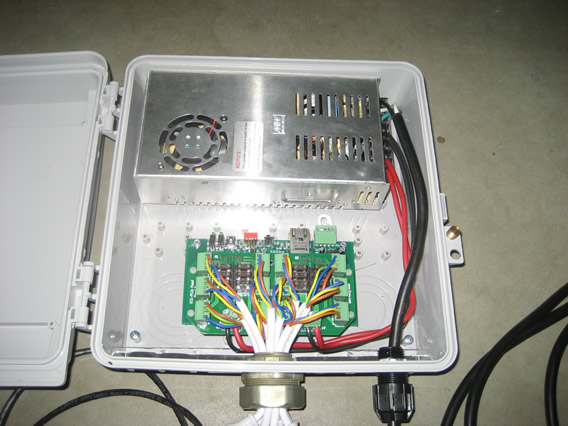
I assembled all the components into enclosures and provided them with their configuration settings. Here is how one looks opened up:
After figuring out that the pixels needed to be perfectly spaced on the tree, I had to find a way to mount them. Well...the plastic pixel strips work, but they didn't look like they would keep the pixels facing properly outward, would flutter in the heavy winds we have and aren't exactly nice looking during the daytime period. Unlike a regular megatree, the pixels needed to be close together (basically touching sides) at the top and they couldn't not be hung multiple strings to a hook. I came to the conclusion that my existing tree topper (with hooks) would not work. A new style of tree topper would be needed! One that:
- Allows the pixel tree to be as narrow as possible at the top
- Force the pixels to point straight out
- Keep the pixels side-by-side at the top
- Enables pixels to be raised, lowered and repaired easily
The pixel tree hook topper was born!
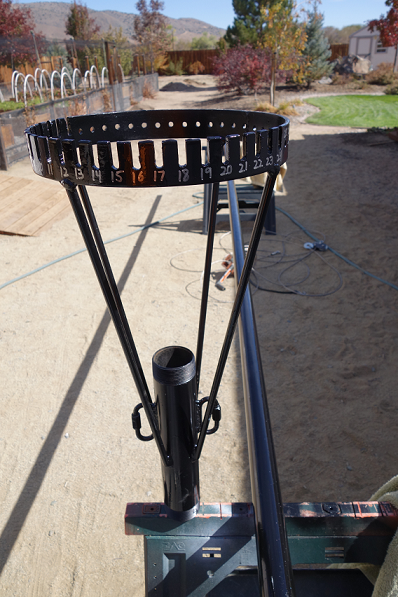

I cut slots into the top so each pixel stick could just sit right in the correct area.
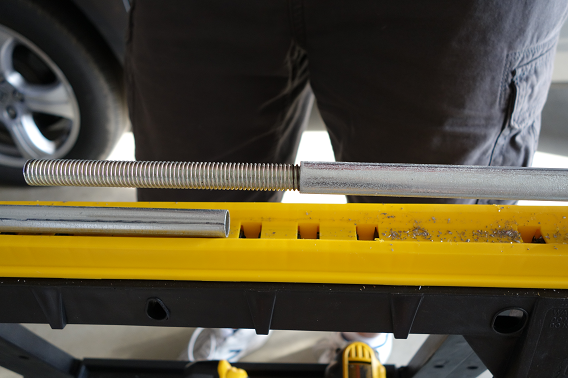
Additionally, I wanted the pixels to be weather tough (as I like to sleep at night during our heavy wind winter storms). Pixel sticks on 1/2" EMT would do the job! The topper would need to be strong enough to lift 24 sticks of EMT to the top. I could only find 1/2" EMT in 10' lengths and I needed each to be about 18' long. So I combined two sticks using a compression coupler and tried it out. Even though they held together, I saw a slight bend in the center (even without pixels or a load). That won't do! Found a solution by putting a 2' x 1/2" threaded rod into the center section and having them held in place by screws.
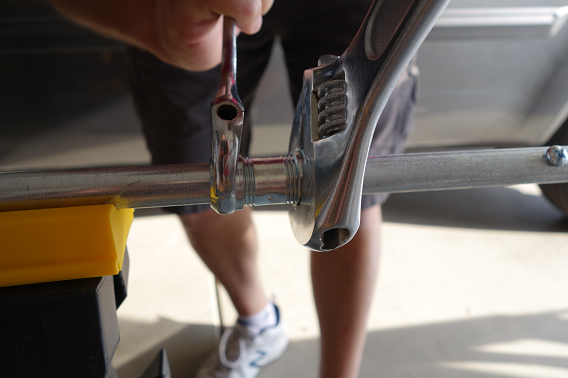
Tighten that coupler without stripping it!
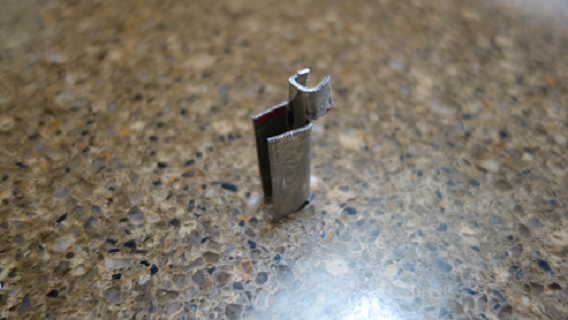
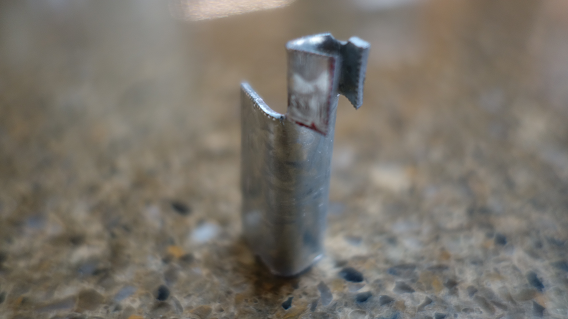
Now that I had one strong pixel stick, I needed the top of it to be narrow for the topper slots. I also needed a way to hang these sticks with some type of hook.
I found these stainless steel Pot Rack hooks on Amazon and bent them to work So, I crushed the top of the stick with a vise and wrapped it with electrical tape to keep the hook in place.
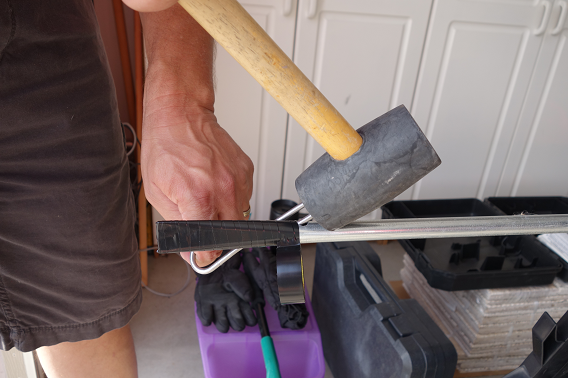
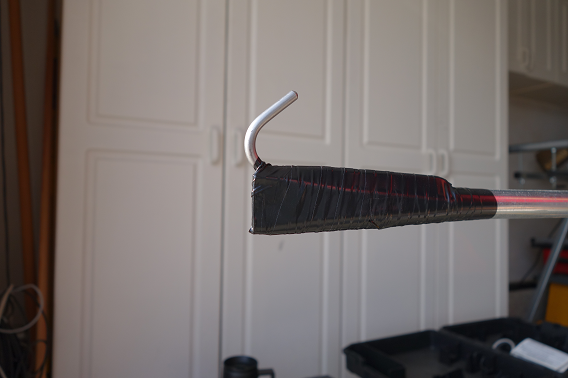
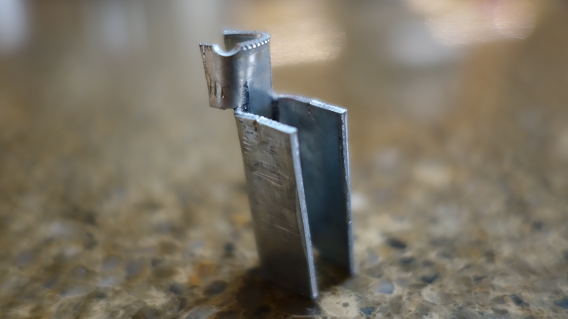
That ALMOST worked, but I found the hook to be able to move...and that just won't work. As a result, went out and bought some thick strapping metal from Home Depot and fabricated (using tin snips) a pretty ugly looking clip. The small part clips to the hook and the opposite crimps to the pixel stick. Wrap both with electrical tape. Ya, it is ugly, but it does the job of keeping the hook straight to the pixel stick:
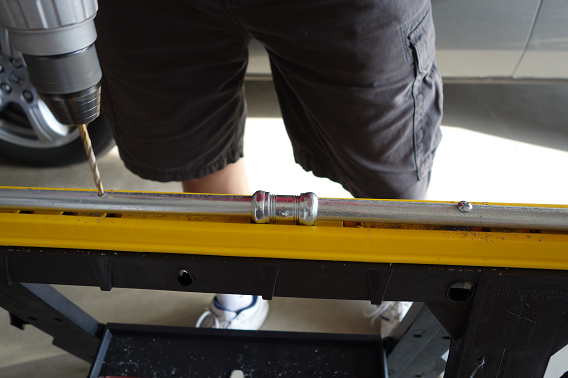
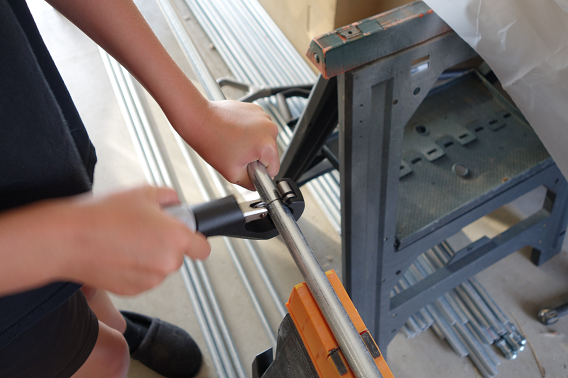
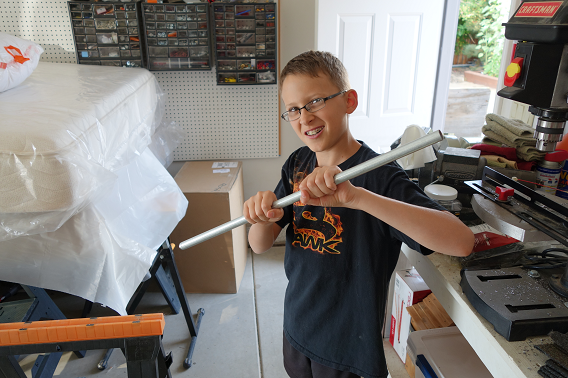
Great! Now had a full 20' length pixel stick. My main pole is only 19' high, so I had to cut the pixel sticks down to a length of 18'...which I had my son do with a conduit cutter:
He apparently thought this was done to create ninja weapons...
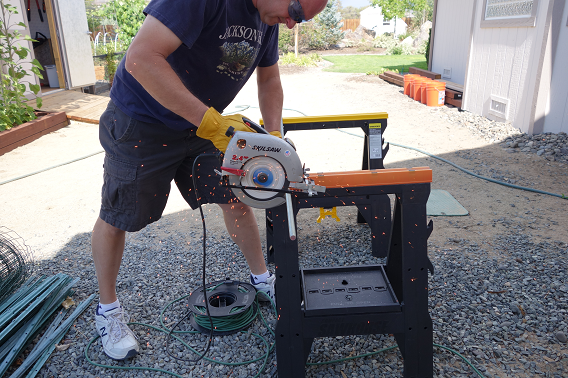
One basic pixel stick down! 23 to go! Figuring the first pixel stick out is the most important as every one after that must be alike. Start cutting more threaded rod...
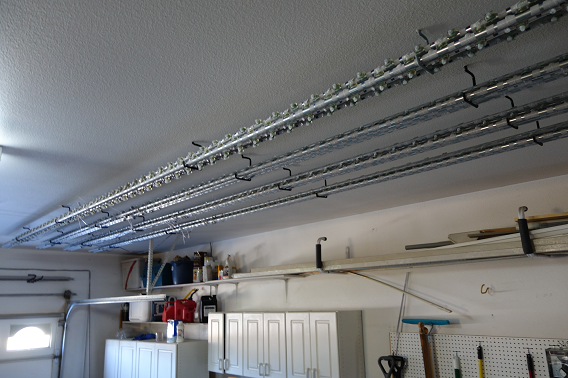
Once I had 24 pixel sticks fabricated, I simply electrical taped the pixels to them every 4" (starting with the LAST pixel at the top) and kept the pigtail of the sticks at the bottom. This took quite a while for all 24 sticks. It helped bringing them inside and watching TV while doing it! I placed hooks at the top of the garage to store them until Thanksgiving weekend came around: