


Mega Wreath
Back in 2006, Mike Z. made synchronized video with his light display. Soon after, others wanted the same kind of capability and wondered how he did it. Our lighting animation software didn't provide for any type of video to be output...and the logistics of porting the video to it's own output was not capable with Light-O-Rama. In late 2007, Light-O-Rama added this capability to their software and I was determined to make my next Christmas setup run with video. So the plan began ...
What could I make to show the video on? What projector? How would I get video in the bedroom when the Light-O-Rama computer sits in the garage? If the projector is in the bedroom window, is it too far away to shine on the screen?
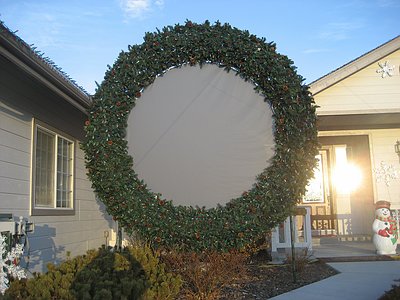
All kinds of questions came about that I needed to answer. After figuring out other possibilities, I landed on the one I thought would work best. A 10' wreath with a 7' screen. But how to make this wreath that would need to standup to our nasty winds we get? If it were made from PVC, it would get broken easily. It needed to be made from steel. That sounds great, but I'm not a welder nor do I have the tools to bend the steel.
Fate turned out beautifully when my wife came home from a meal preparation business called Dream Dinners and the rolls (bread) were forgotten in her bag. So, a nice lady who worked there drove to our house to deliver them. When she came to the door, I spoke with her about my plans for the year, but had a problem with finding a person who could weld the wreath together. She mentioned that her husband is a good welder and could probably do it. Great!!! I promised to advertise for Dream Dinners as a sponsor if they agreed.
I drafted up a basic design and spoke with her husband whose name is Ron Sampson. I sent the design to him and he had a few questions ... and also provided me with a few answers. Now to get the steel. I called all over, but the best and cheapest steel provider was only a mile away. Went over and bought the initial batch of steel ... and best yet, the steel was provided for free as they wanted to trade the steel for advertising as a sponsor on the new video wreath. Perfect!
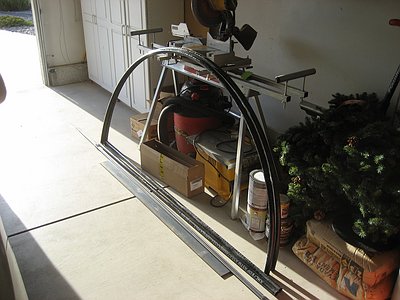
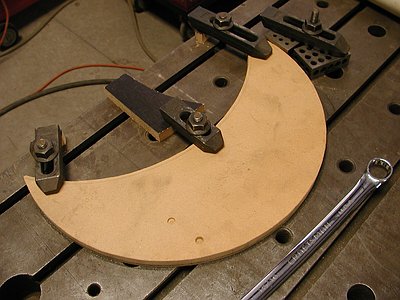
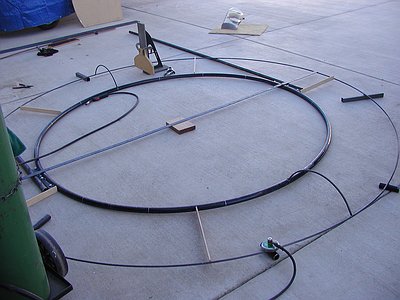
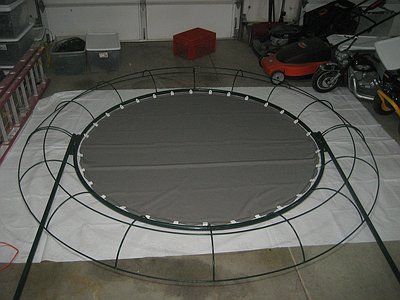
My design called for a strong inner ring that would hold the screen and fasten the posts to it. An outer ring with spokes would hold the garland and lights. The inner ring was 1" iron black pipe and needed to be bent in a near perfect circle. The posts were to also be 1" iron black pipe. All the rest of the steel didn't need to support the structure and were for hanging the garland and lights on, so we decided it would only be 3/8" hot rolled steel. Well ... Ron and I couldn't bend the 1" black pipe into a perfect circle, so I called around and found a metal fabrication company that would bend the steel into a 7' diameter circle on a 'wheel brake'. It wasn't cheap though ($200), but I proceeded anyway. Here is the initial batch of steel with the inner frame bent:
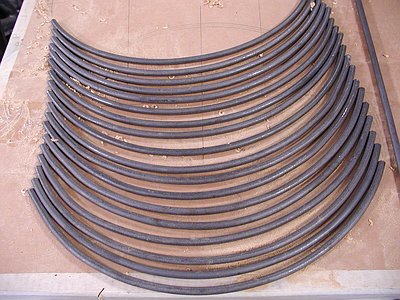
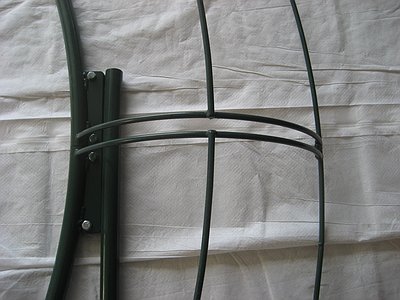
Ron and I discussed the spokes and thought they would be much better bent to look more like a wreath instead of a bicycle wheel. After that, Ron worked fast and hard to put everything together. Little did I know that Ron is a retired modeling engineer for Subaru. He modeled the newest model car prototypes! Wow! Anyways, he took some pictures along the way and here are a few:
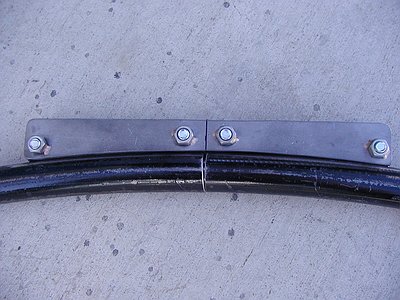
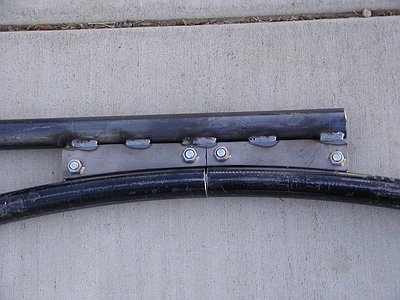
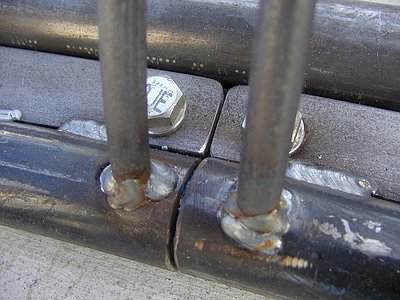
There is an steel insert between the two halves to hold them together. The insert is only about 1" sticking out as it can't be too long or it would get jammed up into the other half of the inner ring.
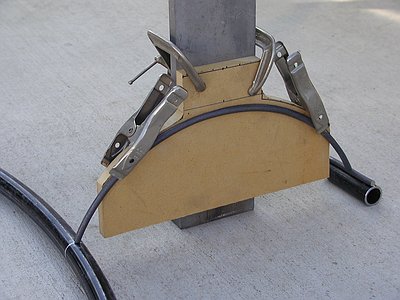
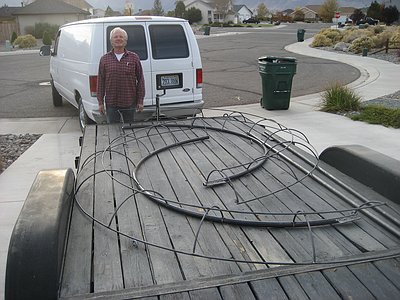
Ron blew me away when he fabricated the post-to-inner ring brackets out of standard 1/4" plate metal. We designed the wreath to allow the posts to be separate and the entire ring to be divided into 2 halves for storage purposes. Here is a picture of the finished wreath frame with Ron delivering them to our house:
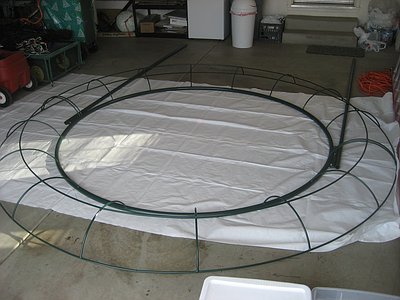
So we brought the wreath into the garage to clean up the black pipe and to give it a coat of green paint. Even though most won't see the paint job, it is there to prevent rust and to hide whatever else shows through the garland.
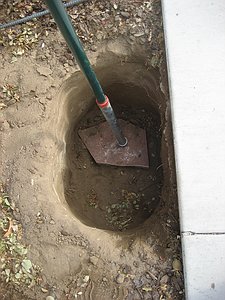
OK, now to dig the holes. I called 'Call Before You Dig' and found out that they only provide services for electrical and gas, but not sewer and water ... which is the reason why I really needed them! Anyways, after they spray painted my yard (and street) for something I really didn't need done, I found the ideal spots to put the wreath posts and started digging. I planned the holes to be 2' down and 1 1/2' across with a sleeve of the same depth. The first hole went beautifully. The 2nd hole found the sewer line! Yikes! Luckily I didn't damage it at all and covered it back up and moved the hole a bit to the right.
I moved the wreath (with sleeves attached) into the hole (with my wife's help) and sat it on a small piece of flagstone in each. Then added rebar to strengthen the concrete.

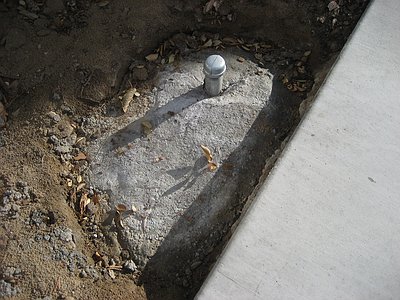
22 bags of hand mixed concrete later and wreath removed:
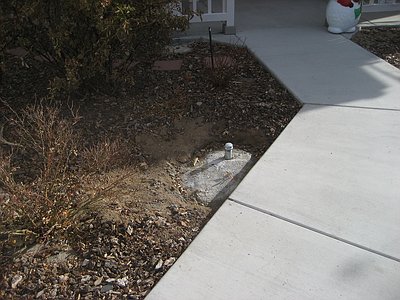
This concrete is now covered up on top with dirt and bark. The only thing you see is the sleeve sticking about 1" above surface.
Brought the wreath back into the garage to have screen cut out and clips (mini clips also from Dazian Fabrics) attached to the gray rear projection screen material that I got from Dazian Fabrics. I did not attach the screen until much later during the setup to prevent any damage to it.
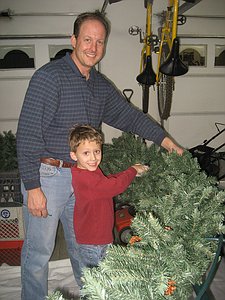
I then put the wreath up on a couple of sawhorses and hired slave labor ... ahem ... had my 6 year old son Wyatt help me with attaching the garland to the frame.

It took a week and 22 bunches of 9' long garland from Lowes to cover the wreath. I used green zip-ties that I found on clearance at Home Depot. We tied the garland length-wise around the wreath like vinyl record grooves (if any of you young people know what a record is). We started from the inside of the wreath to the outer ring. The garland is really nice and it cost me $200 for it all (with charitible discount). I wanted it to look as good during the day as it does at night.
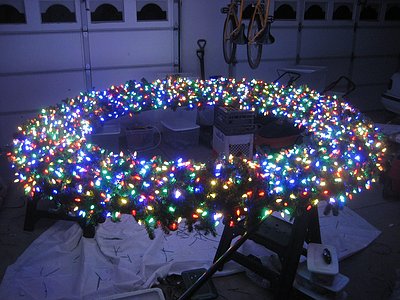
The lights were to go on next, but UPS screwed up and turned my 2-day air into a 6-day air delivery. I only had one night from when the LED's arrived to when the wreath was to be put outside for the show. So, I stayed up to 1 AM and put on 32 70-count strings of lights (8 of each of the 4 colors). The strings were spaced out about 3.3 feet from each other. When I turned them on, it looked awesome in the garage.
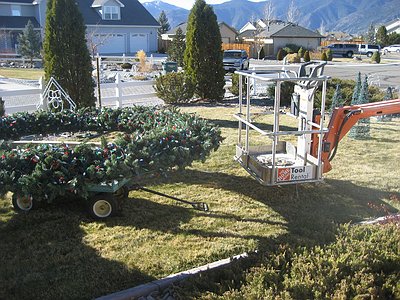
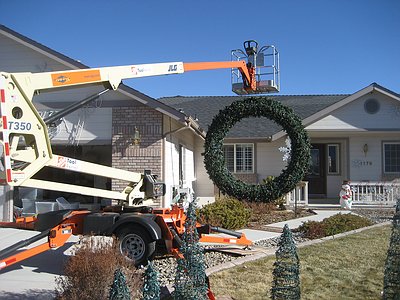
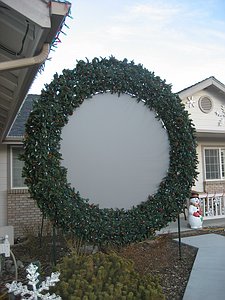
The next day, I wheeled the wreath out on a garden cart. The wreath isn't exactly light weight. In addition, it is awkward to move or position, so it was a challenge to just get it onto the front lawn. I then had a lift that I tied the wreath to and lifted it into position. When it went up, it was kinda scary with the size of the wreath up in the air.

The light strings were connected to the Light-O-Rama controllers. Only 4 channels were needed for the whole wreath since it is LED's. Next year, I will have 32 channels control the wreath. Why? Because it will spin with colors! I just didn't have the money or time to do that in 2008.
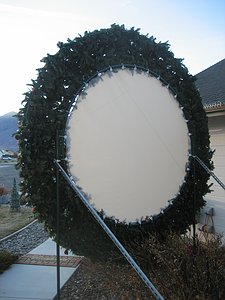
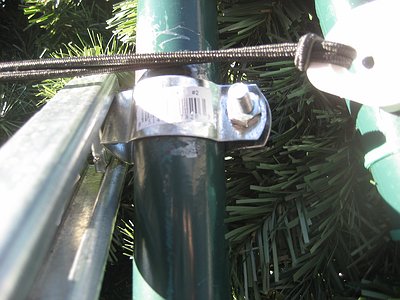
I reinforced the Mega Wreath with unistrut and stakes in the ground. Finally, I added the screen.
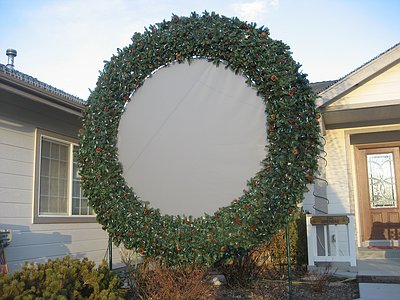
I attached the Mega Wreath clips to the frame with doubled up zip-ties.
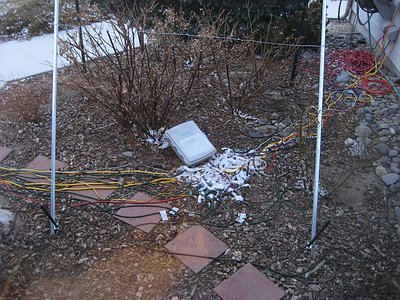
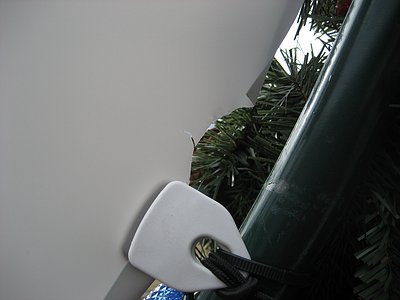
That worked well until we once again got crazy winds (75+ mph) that were forced head-on into the wreath. The winds pulled the screen back and forth like mad. It eventually popped 75 lb. rated zip-ties off like they were nothing. One held from the section that was getting popped off and ripped the screen. :( I saw this happen at 4 AM and ran out in the extreme cold wind to repair as I could. Additional zip-ties were added to get me through the night. Here is the screen ripped from the previous clip.
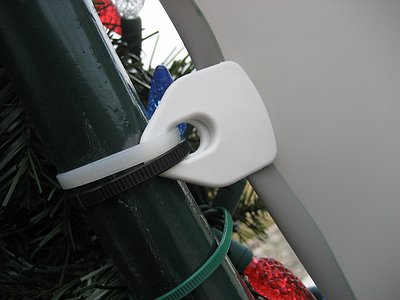
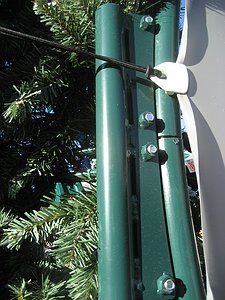
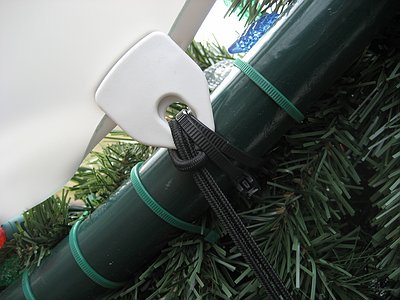
After the winds, the screen was loose and moved like a flag. The zip-ties were a mistake to use. I should have used the bungee cords with tightening balls on them. So, that day, I ran down to Walmart and got 16 of them as a test. Hooked them up to the outer ring of the Mega Wreath and the screen is now tight again. The bungee cords will allow the screen to give when it needs to ... whereas the zip-ties wouldn't. So, I'll be getting more bungee cords and removing the zip-ties. Here are pictures of the bungee cords.
I found that once the screen material rips, it will rip pretty easily from the point it was ripped from. I needed to put clear packing tape over those ripped areas to stop any further ripping.
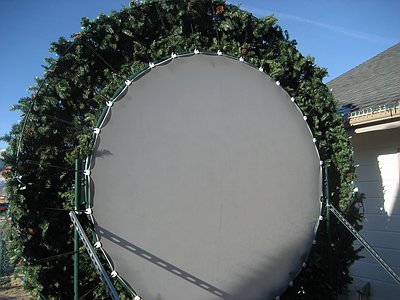
Here is a picture with all ball bungee's connected. When I get a new screen, I'll be sure to cut it BIGGER around the inner ring so that it covers the inner space better and isn't too tight on the ball bungee cords.
Here is video of how the screen behaves in heavy winds with the ball bungee cords:
I chose to get a NEC VT-800 projector that was positioned on the window sill and a stand I made from Lowes. This projector is 2700 lumens rated. Why did I get such an expensive ($850) projector? For a few reasons:
- I wanted to be sure that I had sufficient brightness. It is plenty bright...and I run it in econo mode so my bulb will last much longer.
- The project has a HDMI input so I fed it directly from a DVI output on my Light-O-Rama computer.
- NEC was running a promotion to get a free 22" wide-screen LCD panel.
- Most importantly, it can be hooked up to my network for control, but found I didn't even need to do that. Instead, the projector has a built-in scheduler that I programmed to turn on and off the lamp. My display is 100% automated and I didn't want to manually turn my projector on and off each night. It's nice to come home from a dinner out and see everything running as it should with a full cul-de-sac of cars.
I ran a good quality 50' DVI to HDMI cable from the computer in the garage to my office bedroom. The projector is about 14' away from the screen. The screen can't be more than 15' (at the most away) otherwise the video will be too large to fit on the screen at the smallest size possible for the projector.
Light-O-Rama supports video output that you can sequence the lights to. So I created videos using video editing and creation software that had the .MP3 as the soundtrack. I exported the videos into .MPG format (MPEG-2) with a resolution of 720x480. Ideally, I should have used 640x480, but it worked out OK for my setup to use the 720x480. The .MPG file needs to be encoded with a constant bit-rate or you will get off sequence while sequencing the lights. I encoded used a bitrate of 5K, which is really high, but I wanted the output to be crisp. I then used Light-O-Rama to sequence the lights to the video file.
As for the video card setup on the Light-O-Rama computer, I chose to put in a dual monitor output card that allows full screen video output on the 2nd monitor. The video card is a NVIDIA GeForce 6200...which only cost me around $35 on www.newegg.com. The primary display is my monitor and the secondary display (DVI output) is going to my projector.

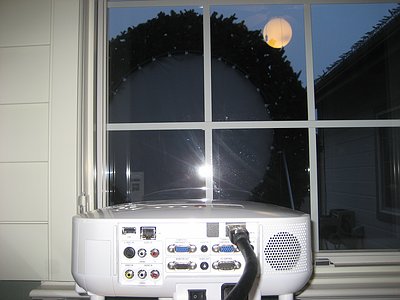
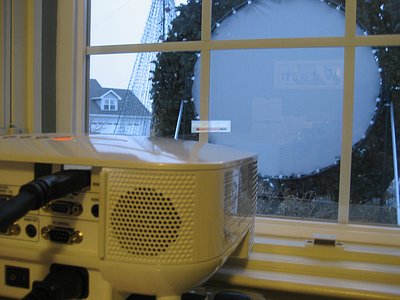
I, interestingly enough, found that even a dirty window from rain, snow, and dirt didn't effect the image on the screen. Cool!
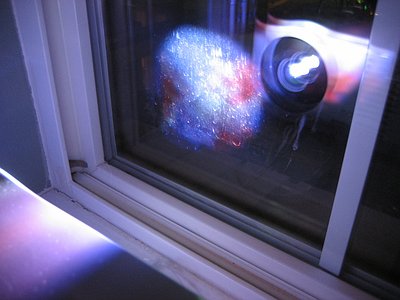
Then I fired up the projector, set the computer and LOR to show the video on the correct monitor output, reversed the image, adjusted the video size and focus ... and viola! It worked beautifully!
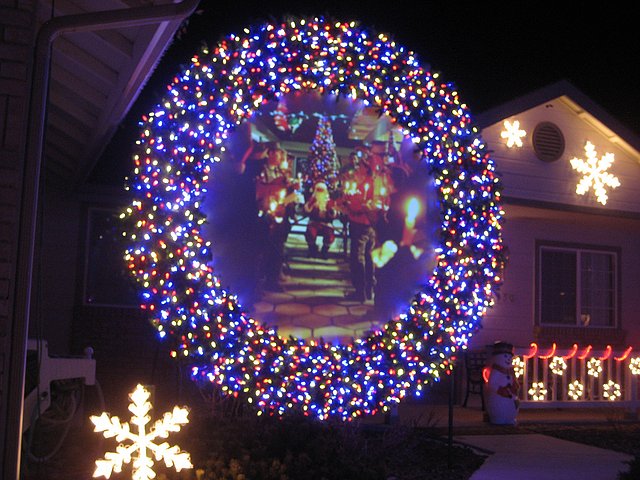
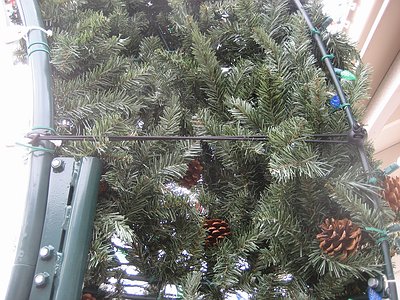
Back of wreath at night:
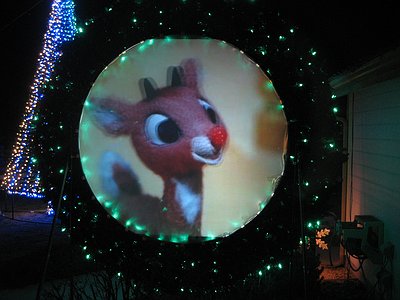
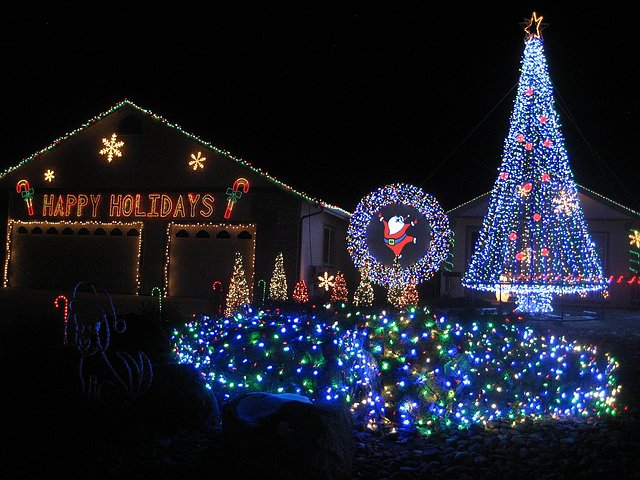
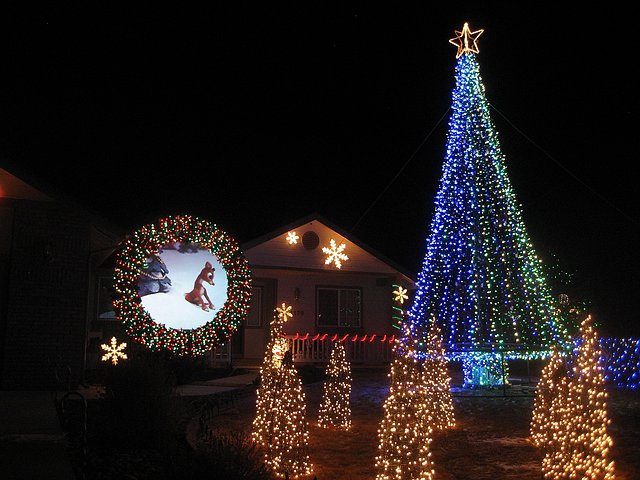
OK, so why is a Mega Wreath with video so cool? Video takes the show to a whole new level. The sequences become alive with whatever is in your imagination. No longer do I need to think of wireframes that would match my sequence. Additionally, I video'ed the charities that I collect for to show exactly where their donations are going to and how it helps.
Video does tend to take away from the rest of the lights flashing to the music, but it is so much worth it. For Blue Christmas, I now have portions of Elvis actually singing the song. For the Christmas Medley, I have a story that couldn't be expressed in any other way. For I'll Be Home For Christmas, there are pictures of soldiers in Iraq/Afghanistan which pulls at the heartstrings. For Yellow Snow, I have a slide show of dogs in Christmas attire ... and ahem ... actually making yellow snow.
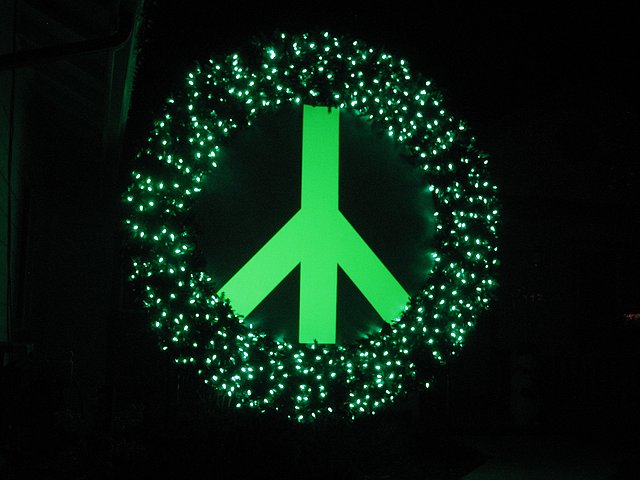
There is no going back for me without video and I look forward to creating new and exciting sequences. The Mega Wreath now has 4 different colors broken into 8 areas and I can make very animated during the show.
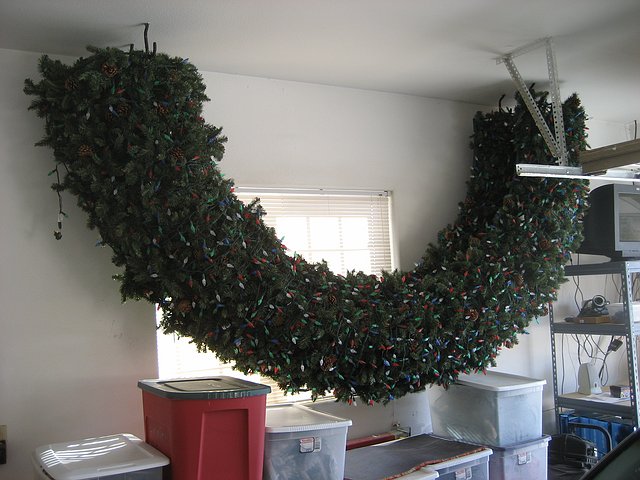
Stored away until next year: